How I Create a Painting
From Start to Finish
How I create a painting from start to finish
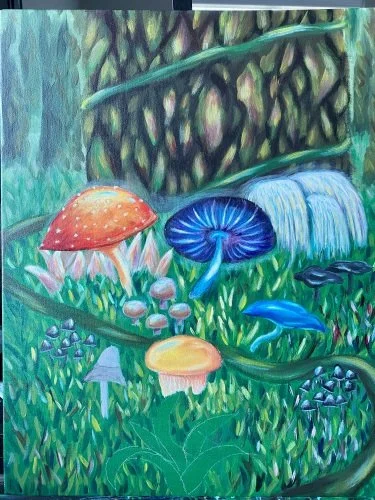
Every artist has a different process for creating their work. I decided to show my process from start to finish using my painting “Pride and Fungi.”.
Pre-planning: Coming up with the underlying concept and symbolism
Since my artwork is built around a concept, the first step for any painting is to plan out the symbolism and meaning behind the work. This is where I let inspiration take its course. Sometimes I get a complete idea for a painting and its meaning all at once. When this happens, I usually will write down the description, symbols, and a rough sketch of the idea in my painting list. Other times, I’ll come up with a fraction of an idea that I call a proto-painting. For these ideas, I’ll frequently come back to my list and slowly build on it until a fully formed idea is created. Typically, I have a backlog of ideas that are waiting to be painted. I like to keep the list handy so that I can add painting ideas whenever inspiration strikes. When I am ready to create a painting, I select one from the list and move on to the next step…

My color mixing chart
Sketchbook design
Once I have the meaning and general design planned out, I will then create a rough sketch of the painting in my sketchbook. This allows me to play with the composition and make sure that the final painting will be aesthetically pleasing. While the main purpose of my art is to convey a message using symbolism, I always want my paintings to display beauty that can be admired by someone who doesn’t know the underlying meaning. During this phase, I will also plan out the color scheme and decide which colors I will use in my palette. My paint palette consists of 7 colors that I use to mix all the other colors I need. These are black, titanium white, ultramarine blue, phthalo blue, cadmium red, alizarin crimson, and cadmium yellow. To help with the planning, I created a color mixing chart a few years back that I use as a reference when needed.
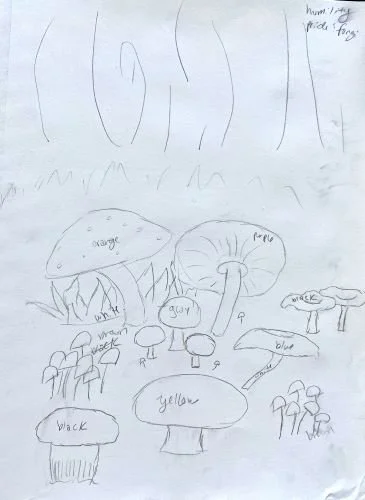
My rough sketch of Pride and Fungi
Prepping the canvas
The next step is to now prep the canvas! This can mean a few things depending on the final look that I want. If I want a smoother look to the painting, I may add extra layers of gesso sand down the canvas to reduce its texture, but typically I go straight to creating a base layer of color. This is similar to adding an underpainting. The main goal is to have a foundational layer of paint that I build my painting around. For Pride and Fungi, I experimented with using black gesso as the base to give the piece a slightly muted, unifying tone.
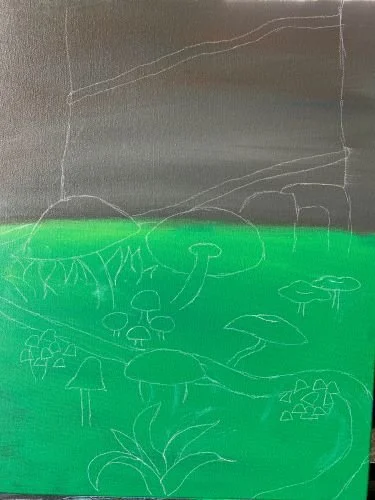
Drawing the composition
Once the base layer has been added, I now use a white charcoal pencil to draw my composition onto the canvas. At this point, I’ll also make any final tweaks to the design based on how it looks full scale. I like to use white charcoal, as I’ve found that graphite and black charcoal pencils will muddy the colors of my paints. This just makes it an easier transition from sketching to painting and also saves me time!
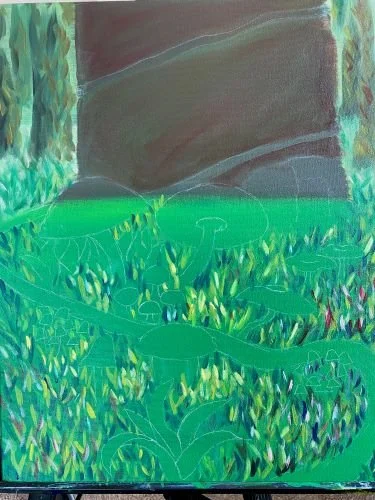
Painting the surrounding elements
When I draw, I like to start with my detailed focal point and work my way out. When I paint, I like to do the complete opposite! I will usually start with the surrounding elements and paint with a much looser style. While I have a deep appreciation for realism and hyper-realism styles, I like my work to have distinct brushstrokes that feel like a painting. With the advent of AI art, I’m starting to lean more into a looser style to make my paintings feel more handmade and alive. The surrounding elements of my works typically have the loosest brushstrokes with the largest brush I can use. I’ve found that this also draws more attention to the focal points I create in my paintings. Which brings me to the next step in my process…
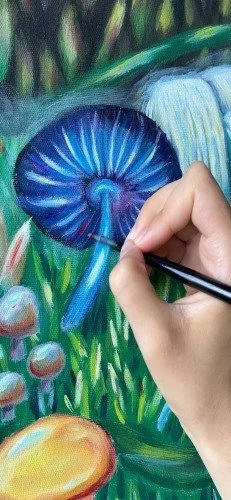
Painting the focal points
Next up is painting the focal point (or points) or my painting. Since I want the viewer to spend the most time looking at these areas, this is where I put most of my attention. The focal point is not always the largest or most complex element of my painting. Sometimes I like to use movement or light to draw the eyes towards an area. Pride and Fungi has definitely been my busiest composition yet and one of my few paintings with multiple focal points. I enjoyed using the vine to add movement to the piece to almost guide the eyes across the canvas to the multiple details. Once I’ve painted the focal points, I then move on to my favorite part...
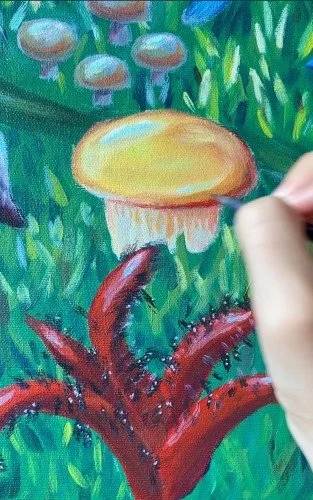
Adding the details
Adding details and final touches to the painting is definitely my favorite part. This is where I take out my smallest brushes to add finishing details to the piece. This typically includes adding color to draw more attention to highlights and create greater contrast with my shadows. For Pride and Fungi, one subtle detail I added was a touch of the same red I used on the devil’s fingers mushroom to all the other mushrooms. This was done to add to the story of pride (often considered the devil’s downfall and of the greatest sins) being present in all of us.
Final checks
The last step of my painting process I jokingly will call the longest one: final checks. This is the point where the painting is "finished,” but I will spend extra time looking at it from multiple angles and distances and adding any final touches that are needed. I usually let my painting sit on the easel in a conspicuous place so that I can see it multiple times throughout the day. It is easy when painting to get lost in the details; this step allows me to take a step back and view the painting as an entire piece. Once I’ve completed final checks, the official painting is complete!
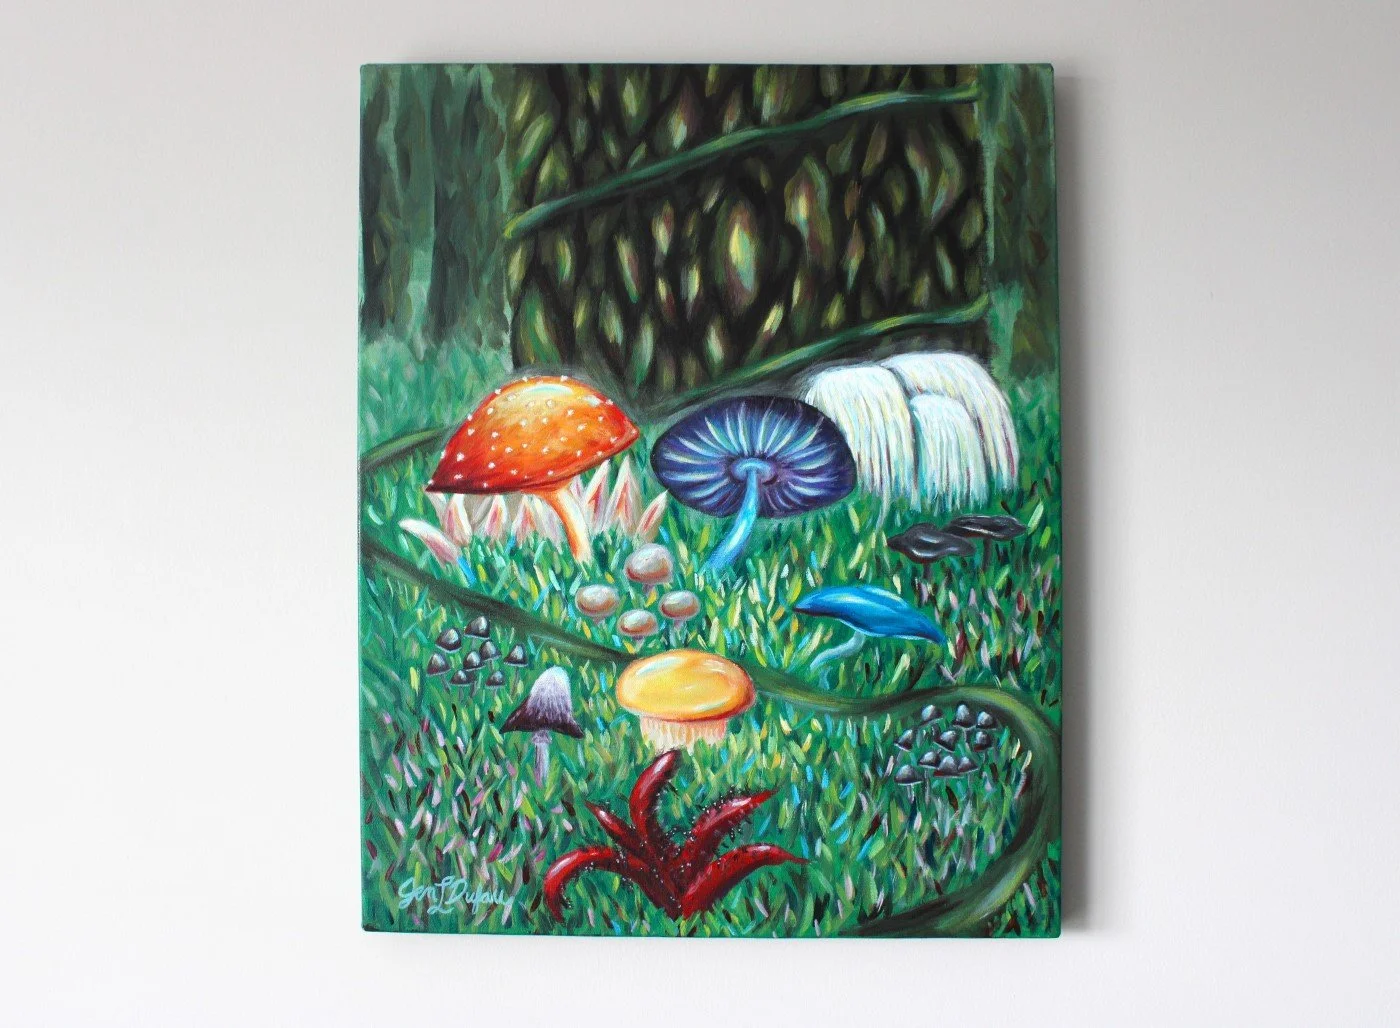
Varnish and frame
The last thing to do with any painting is to varnish and frame it (if needed). Varnishing acrylic paintings is an important step to protect them from damage and sunlight exposure. Unlike oils, which sometimes need to dry for an entire year before varnishing, acrylic paint only needs to dry and cure for about 2 weeks before varnishing. At this step, a small layer of permanent varnish is added to the painting. This adds that layer of protection but also gives it a cohesive finishing gloss. After it is varnished and framed, then it is ready for its new home!